Browsing Tag

nani iro

Finished Projects Japanese Fabrics

nani IRO 2018 – Sewing with nani IRO Linen

March 27, 2018

As part of nani IRO month, it goes without saying that I need to make something out of the new collection as well! Last year I explored sewing with nani IRO cotton sateen, and this year, I decided to make something out of the very same fabric we are giving away, which hopefully will make you want to take part in our awesome one-bolt fabric + book giveaway!

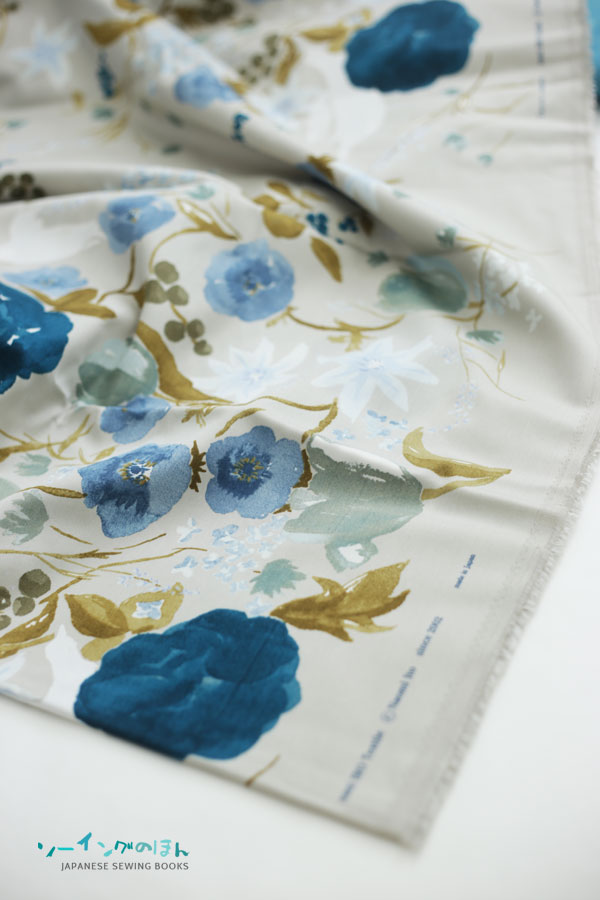
The fabric I used is a thin linen in the most popular blue colorway from the Ripple or is it Pippre series. This is what the fabric looks like. The fabric in the picture is hung with the lengthwise grain vertical, so the selvedges are vertical as well.

rippleB

But I really wanted to make the bottom border into a skirt, and I also wanted to make a more structured dress compared to what you would normally see. Most of the linen pieces in the book are baggy and even though it would be really comfy to wear, I really wanted to try something else. So I just went ahead with what was in my head, and here is the result! 🙂

naniirodressfront1

As expected, the bottom border for the skirt is really amazing. It’s really like wearing a piece of abstract art! The top of the dress was actually a more rounded neck, but I amended it to a  boat neck so that I could show more of the horizontal stripe.

naniirorippledress

And this is how it looked on me! The skirt is an inverted box pleat skirt because I felt that using gathers will make it too poofy.

naniirorippledress_back

Here’s the back view. Remember that this linen is rather sheer so the dress is fully lined with white lawn.

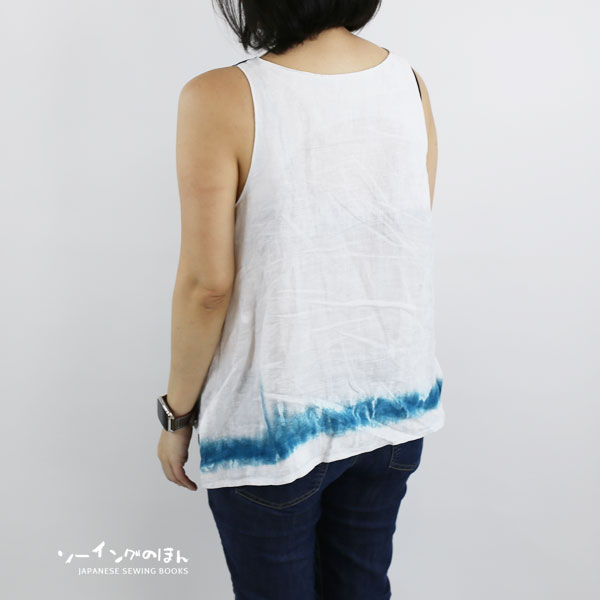
But I had about 1m left of scraps. So I wanted to make something casual too, for daily wear. I was really in love with the linen by this time because it is so cool to wear for our super hot weather. So with the remnants, I managed to cut out a tank top! And because I wanted to feature both borders, and also max out the use of the fabric, I decided on an asymmetrical tank with a longer back piece featuring the bright blue border.

This piece is not lined, as the dark blue print in the front ensured it wasn’t see-through. But I did use lawn to face the neckline and armholes as I wanted a clean finish around them. This was a really quick and easy project and now I really want to get more nani IRO linen because I wore this the whole Sunday and it was so comfortable and cool to wear.

naniirorippletankfront

Here’s the back view. You will notice that linen crumples. Yes But that is part of the relaxed linen look. Which then brings me to another point. I didn’t iron the pieces after washing them. I just wore them as it is and I think not having to iron is a major bonus for me! 🙂
naniirorippletankback

Some of you may be afraid of sewing with linen because it is usually more expensive and seems like it will shrink alot. This is actually not my first time sewing with linen, but the previous times I used thicker ones. This thin linen from nani IRO was actually very easy to handle. In fact it feels a little like a mix of cotton and paper. The slight stiffness is due to the natural fibres of hemp. You may also wonder, if it will shrink alot since most people think that anything cotton/natural fibres will shrink like crazy.

So I did a shrink test.


So the first picture is the before…
linenshrinktestbefore

Before
2 pieces of 10cm square pieces of thin linen were added to the wash. Cold wash (approximately 25-30 degrees in our weather). The top piece was sun-dried and the bottom piece (with blue streak) was put in the dryer on my regular cycle.

linenshrinktestafter

after

Sorry for flipping the pieces when I took the after photo. The blue streak piece is now above, that’s the one that went into the dryer. I had to tape down the edges with washi tape to keep it flat because they were a little wrinkly. Notice that there was no shrinkage along the lengthwise grain at all! However, there was a 6-7% shrinkage on the cross grain.

Obviously there is not much difference between being dried in the dryer (which is way hotter) than on the line. I said sun-dry but because I live in an apartment it was more like sun/wind-dried in the shade. It dried really quickly though, because it’s thin and rather loose weave. So it’s not as dramatic a shrinkage as some might say, but you should definitely pre-wash the fabric before cutting to avoid any surprises.

If you love that relaxed/free-spirit look, as well as the class Japanese/Muji look. You will love sewing with, and wearing linen. I am hooked and want more.

gracelinen

Love this grungy look!

And so that’s the end of my sewing with nani IRO linen report! I hope this was useful to you. And yes I know I promised to post the translation request last week but I got distracted by the fabric arrival and had to start sewing immediately! The translation is almost done, short of one small diagram. And will be up later this week.

Book Flip Through Videos Book Reviews Japanese Fabrics Japanese Sewing Books

Atelier to nani IRO’s Sewing Closet – Book Review and Flip Through Video

March 1, 2018

It’s the time of the year again when the new collection for nani IRO fabrics ship. And this year there is another reason to be excited. After 10 years, she has finally released a new sewing pattern book! (You can read the review of the first book here. )

All the fabrics used in the book are from the new nani IRO 2018 collection. I will be going writing up on that once I get my hands on the fabric. And since we will be practically talking about nani IRO collection the whole month, I would like to declare this month of March 2018 – nani IRO month again!

naniIROmonth2018_sm

I first came up with this idea back in March 2013 where I dedicated the entire month to nani IRO related posts, and oh my has it been 5 years already??? What will I be doing for nani IRO month? First of all, this book review, followed by a post on the new collection this year, and finally my very own makes!

In the meantime, let’s get inspired and hopefully this will help you decide which fabrics to get too! (If you haven’t ordered already)

cover

This time round it’s for ladies only. Sizes S, M&L, L+ and 2L are included. It’s a little confusing, but I will explain later with the size chart at the end of the book review.

innercover

There are patterns for tops, pants, skirts, dresses, pantsuit, hats, coats and shirts. Well practically everything. It is the Sewing Closet book after all!

contents1

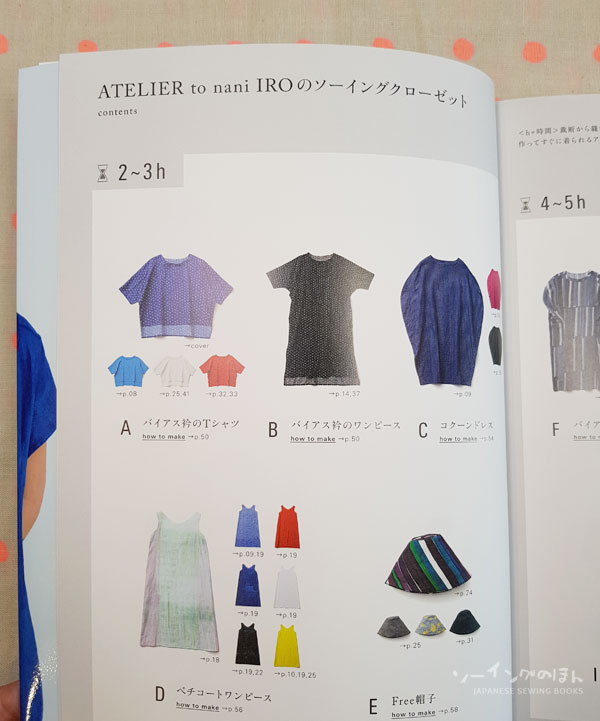
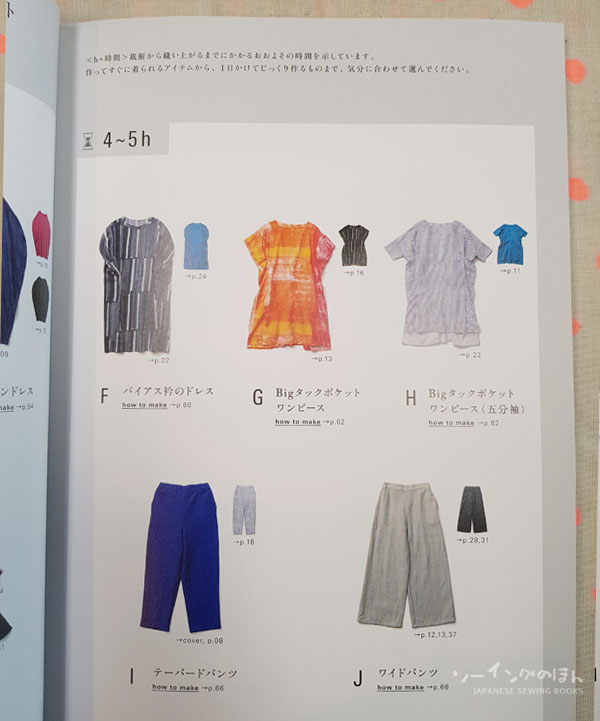
The projects are grouped based on difficulty of making – as indicated by the approximate number of hours you will need to make the garment.

A – Bias collar Tshirt
B – Bias collar Dress
C – Cocoon dress
D – Petticoat dress
E – Free Hat

contents2

F – Bias Collar Dress
G – Big Tuck Pocket Dress
H – Big Tuck Pocket dress with half sleeves
I – Tapered pants
J – Wide Pants

contents3

K – Tuck Silhouette Dress
L – Side pocket Long Skirt
M – All in one
N – Work Dress

contents4

Q – Spring Summer Staff Coat
R – Autumn Winter Staff Coat
O – Work Dress (3/4 sleeves)
P – Work Shirt

CandD

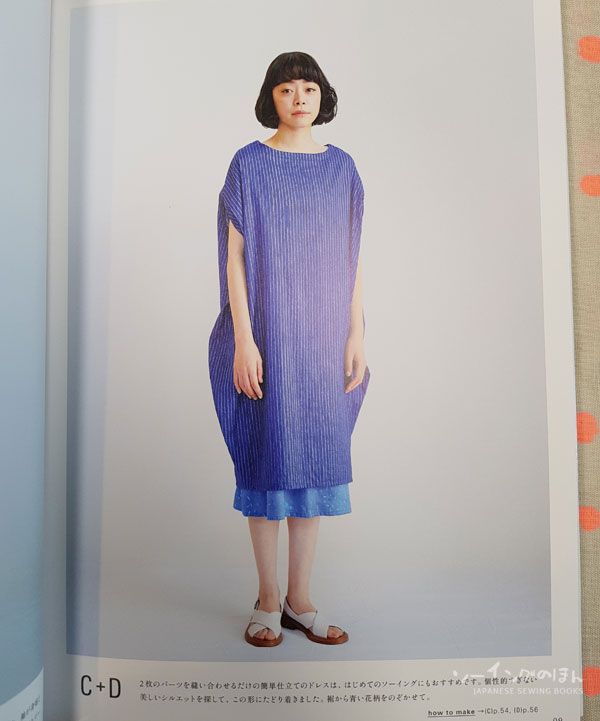
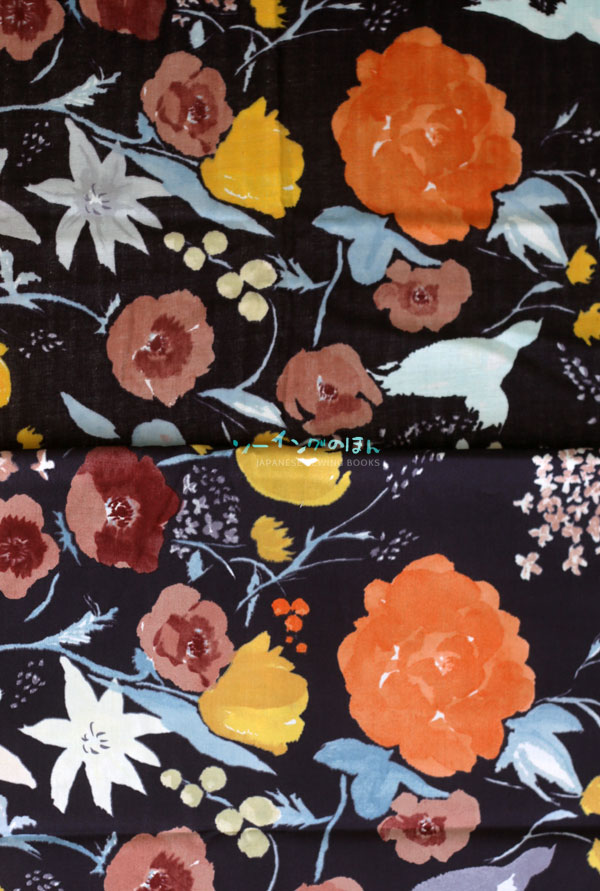
The outfits for each page are labelled below. Here is the Cocoon dress with the petticoat dress worn underneath. The main fabric on the dress is Camino in Double Gauze.

grace

Big Tuck Pocket Dress in Grace (Linen)

G+J

Dress G in Ripple (Linen)

situation

Dress K in Situation (cotton sateen)

M

M – All in One. This is basically like a pant suit. It is quite interesting and looks cool on the model. But I’m not so sure I can pull off the look myself 😛 The fabric is Situation (Linen)

buttonskirt

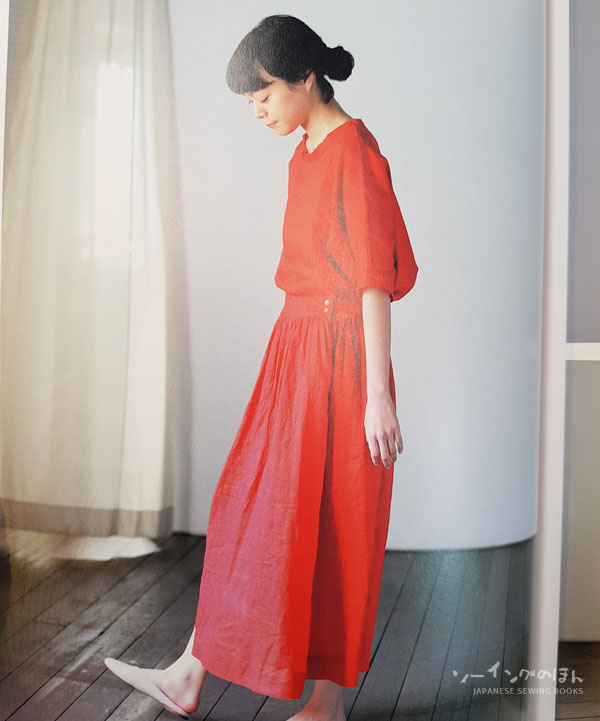
Other than prints, there is a range of solid color fabrics under the new range – Naomi Ito Colors. You can find many different subtrates here – Linen Cotton, Cotton Sateen, Cotton Linen Herringbone, Linen, Cotton Linen Brushed Herringbone (something like the the wool used for men’s suits). The above skirt with side buttons, is made using the solid Linen color – French Red.

rakuenskirt

One of my favourite designs – Fuccra Rakuen is released in new colors and substrates this season. Seen here is the blue linen version, made into skirt L.

shirt

Work shirt in Camino linen.

coat

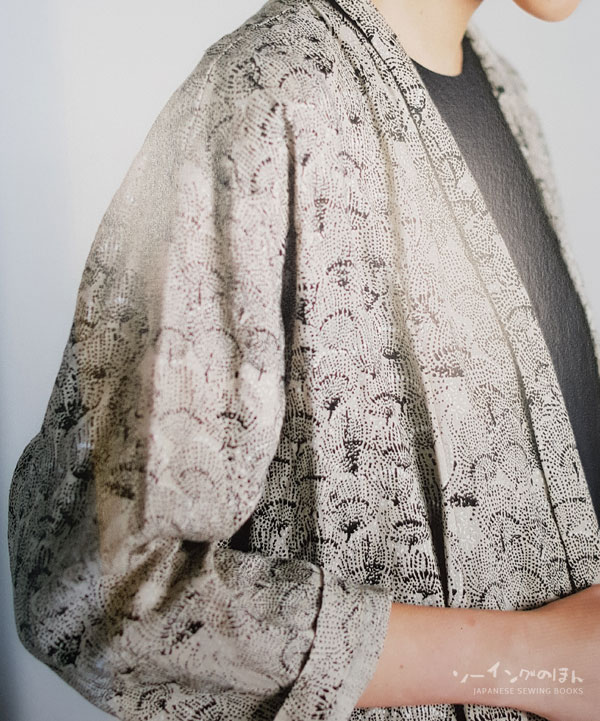
Another one made using Situation linen – this is a lightweight coat for Spring/Summer.

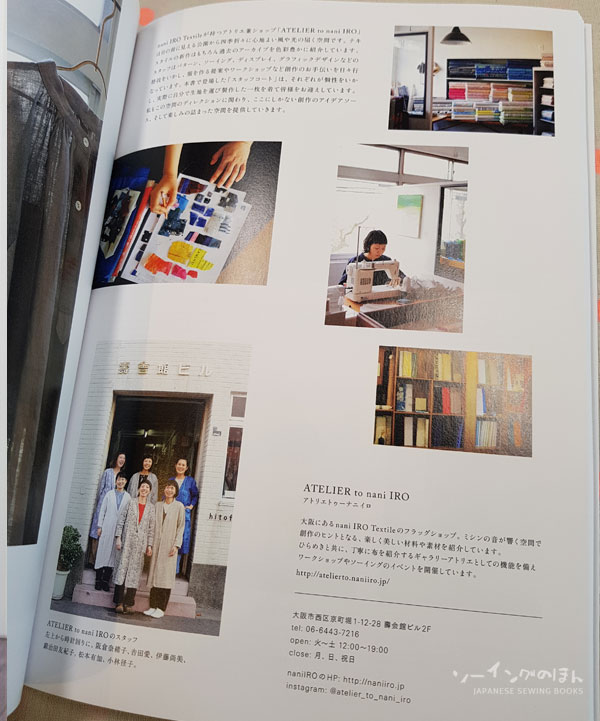
Some pictures of the Atelier to nani IRO in Osaka. If you ever have the chance to visit and need directions, see my blog post here – Directions to Atelier to nani IRO

AteliertonaniIRO

and now for the size chart. I’ll translate the important information below to help you decide which size is best for you.

sizechart

Choosing the right size
* The attached pattern sheets are for the 4 sizes – S/M&L/L+/2L
* Some items may be grouped into 3 different sizes S/ M&L, L / 2L
or grouped into 2 sizes
– sizes S / M&L, L+, 2L
– S, M&L, L / 2L

Size table (units in cm)
Japanese Text in Left most column
Body part / Size
Height
Bust
Waist
Hip

Confusing???   I was confused too… until I looked at the pattern sheets. Basically, first find out which size you belong to, first refer to the size table (above). You will notice there are overlaps in some of the measurements for some of the sizes. My guess is that it is done this way because most people don’t fall neatly into a particular size, so the table gives you a better idea if you should choose one size up or down based on all of your measurements.

The next thing to note is that, not all the pattern sheets come in the 4 sizes listed above in the table. Certain items have patterns that come in 2 sizes and some in 3 sizes – which means that some of the sizes are grouped into one pattern sheet.

For example, the first pattern A – bias neck T shirt, comes with 2 pattern sizes only. Sizes S, M&L and L+ make use of the smaller pattern, and size 2L uses the larger pattern.
The second example is more straightforward F- Bias neck dress – this comes in 4 separate sizes patterns, S / M&L / L+ / 2L.
The 3rd example is N – Work Dress. This comes in 3 sizes. S / M&L, L+ / 2L

The easiest way to tell is from the material list in the how-to-make pages. If there are 2 sets of numbers, there are 2 pattern sizes, and so on…  The other way is to look at the sizes separated by the backslashes. I don’t know why it has to be so confusing… but that’s just the way it was written.

There are many more garments in the book that I could not post here, so have a look at the book flip-through video!

ATELIER to nani IRO sewing closet / Ito Naomi

Title : Atelier to nani IRO’s Sewing Closet
Author : Naomi Ito
ISBN Number : 978-4579116270

button_buy-now-from-cdjapan (1)

Japanese Fabrics

Japanese Fabrics – nani IRO 2017

March 16, 2017

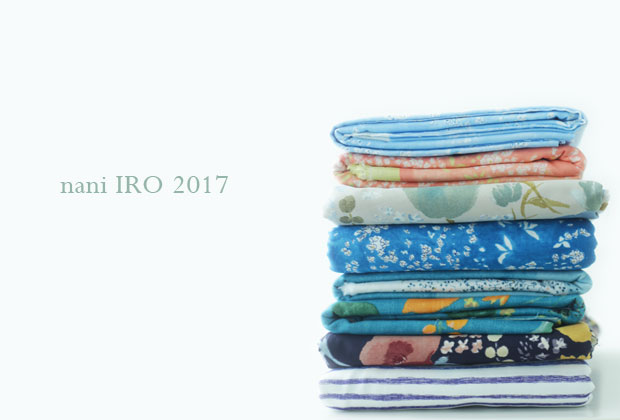
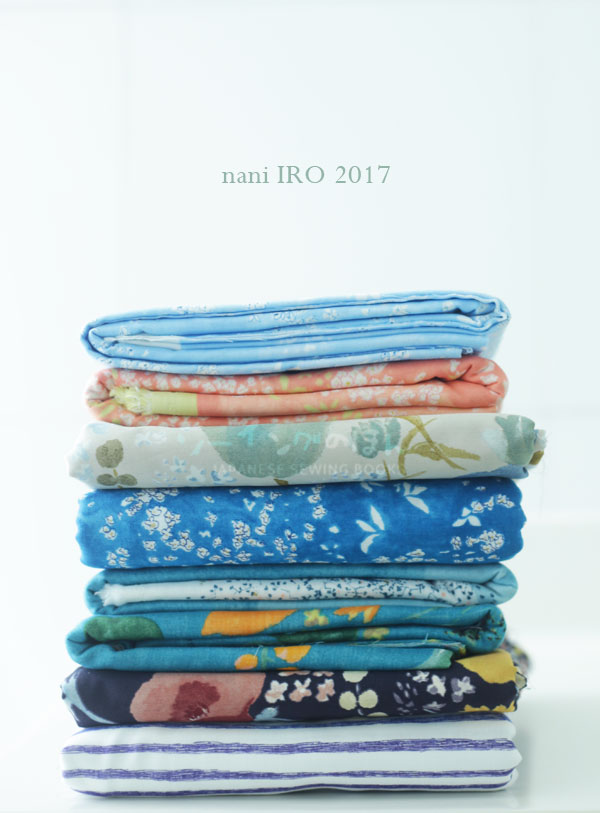
A package I’ve been waiting for eagerly since February just arrived two days ago. Hand-delivered by ElizabethLittle.co! It’s school holidays this week so it’s hard to get anything done but I just had to quickly snap a few photos to share with you my lovely fabrics.

naniiro2017

saaasaaa

SAAAA SAAA Shimanto in Double gauze.
View full panel fabric and project ideas.

wildflowers

Wildflower Window in Double Gauze
view full panel fabric here

leinaniforcorolla

Lei nani – For beautiful corolla in Double Gauze
(from top to bottom)
Spring rain, Birds humming and Open sky

naniirocottonsateenrakuen2
Fuccra : Rakuen
マヨルカMallorca / アマルフィAmalfi /エルニド El Nido
The fabrics in the series are named after beautiful places around the world.
This must be my favourite print of all, and one that I have in multiple colorways in my stash. Do you notice something different about the 3 fabrics?

naniirocottonsateenrakuen
2 of the 3 fabrics above are cotton sateen. I don’t think it’s the first time nani IRO is available in cotton sateen. If I’m not wrong, Shine Many Ways in the 2014 collection was the first, but this is the first time it’s been used for Fuccra : Rakuen and it is so beautiful I’m already ordering more. The fabric is soft and drapey, and smooth to touch.

naniirocottonsateen

To give you a better idea, I’m showing you a comparison with my other Fuccra : Rakuen in the exact same colorway but double gauze. I think it’s quite clear in the above picture which one is which.

doublegauzevscottonsateen

Here’s a top view comparing similar graphics. The colors in the cotton sateen really do pop out a lot more, and the background color is a lot smoother.

naniirocottonsateen1

The cotton fabric is thin and drapey, with a fine weave. The surface is silky with a sheen. I do hope it holds up to washing because I have not prewashed it yet and I have had bad experiences in the past washing cotton sateen (not from nani IRO but from other brands) as the sheen may disappear. I am crossing my fingers!

I’m so glad that this new material is available other than the usual double gauze and linens. Double gauze and linens are comfortable and cool for everyday wear, but the truth is that the look is more casual than formal. With cotton sateen, the look will be more refined and luxe, and I can imagine beautiful party dresses, jackets, skirts and blouses in them.

In the spirit of experimentation, I will be sacrificing my own precious piece of cotton sateen. (Don’t worry I can order more from ElizabethLittle.co) Will prewash it to test for shrinkage and I will make something out of it. So come back next week and see what I have made!


Translations and Help with Patterns

Translation Requests – Nani Iro Kids Culottes

May 29, 2014

This pattern translation was requested by Vania, and I’m sure many of you will find it useful since it is a free pattern, the construction diagram is provided, and it will be perfect for summer!

Use your favourite nani iRO double gauze fabric, or a light cotton lawn for best effect.

naniIRO2014recipe6_sm

The original pattern is from nani IRO’s official site – link to pattern page, and do check out the other free patterns. This is from the 2014 design range so you can check out the gorgeous fabrics at the same time!

Happy Sewing!

Free Patterns Sew-along Sewing Tutorials Sewing Videos

Free tutorial and sewing video – The nani IRO reversible shoulder bag

March 27, 2013

Finally, the tutorial is up! It’s terribly late by my own standards because I was planning to release this on Monday but it’s already Wednesday. I tried to do something different this time and got too ambitious, but I think the results are worth it!

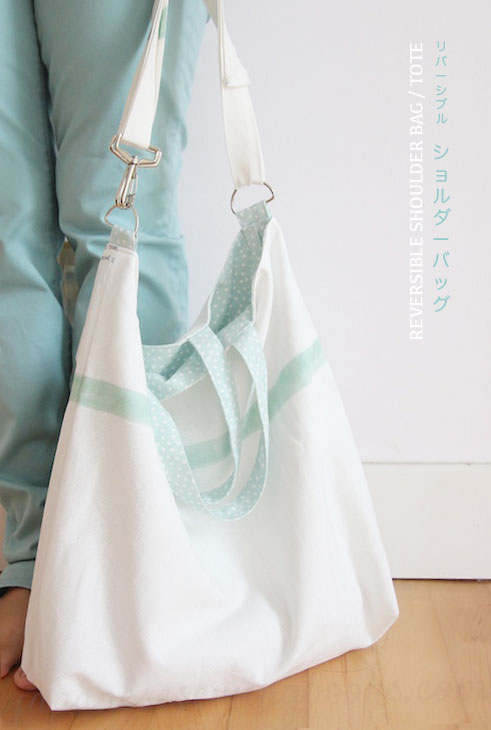
First of all, the tutorial is really more of a how to make, and dimensions are really entirely up to you. This tutorial shows you the basic steps to make this simple, reversible bag with a detachable strap. You can wear it cross body, or double up (like I did in the picture) on the shoulder. Remove the long strap and it will be a tote.

For the detachable strap, I used D rings on the bag’s main body, and for the hook I bought it locally, but it is called a swivel hooks/lobster clasps with a D ring. I’ve linked to one on Amazon (affiliate link) for your reference, but you should check to see if it is the size and color you want, in case you want to vary the width of  your strap.

Customize it anyway you want! Lengthen or shorten the straps, size of the bag, remove the D-rings and just make a tote, make it your own!

Last but not least, the gorgeous fabric that inspired it all.
Nani Iro 2013 collection HERRING BONE pencil in white and aqua – canvas.

One more thing. For this project I used the above (which is not quite heavy duty canvas but thicker than normal cotton), as well as an upholstery fabric (which is thick and has some body) for the lining. That’s why I did not use any interfacing. If you have made bags before, you will realize that interfacing is necessary to provide structure to a bag. So I leave it up to you, depending on your fabric choices, whether or not to apply interfacing. For a step by step on how interfacing is applied, you can refer to my previous sew along of the granny bag.

All right then, here’s the tutorial! I am still uploading the youtube video so I will update it here later on once that’s live. Leave me any questions you have in the comments below. Have fun sewing!

Sewing video on youtube