I’m catching up on my backlog of translation requests! Here’s one that Vy requested late last year (Sorry! :P) Hope it’s not too late!
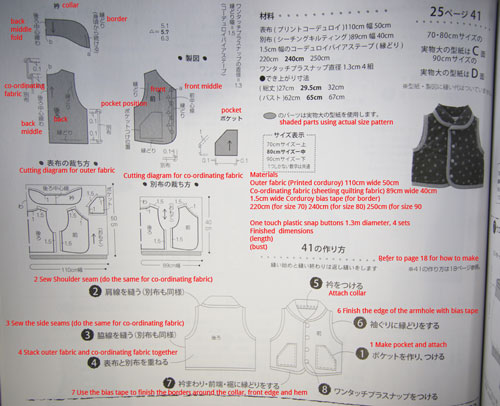
The pattern is for basic pattern #2.
and here’s the translation!
Materials
Fabric [Cotton Print] ……. based on 110cm wide fabric
For Heights 100cm,110cm use 70cm
120cm use 80cm, 130cm use 90cm
140cm use 1m
Interfacing ….
For Heights 100cm,110cm,120cm – use 45x45cm
For Heights 130cm,140cm – use 45x50cm
Elastic band …. 8 coil
For Height 100cm use 44cm
For Height 110cm use 46cm
For Height 120cm use 48cm
For Height 130cm use 50cm
For Height 140cm use 52cm
(Includes seam allowance)
Heart shape buttons …. 1.3cm diameter x 5pcs
How to make
Preparation … Attach interfacing to front and back neckline facing.
Along the entire width and back edge of the neckline facing, Zig-zag or serge to finish the raw edges.
1. Sew shoulder seams of bodice pieces (refer to p.18). Zig-zag or serge seam allowances of the 2 layers together.
2. Sew shoulder seams of front and back neckline facing pieces, sew the facing pieces to the bodice pieces around the neckline.
3. On the right side of the garment, topstitch around the back edge and around the neckline to attach the facing in place.
4. Sew a gathering stitch on the upper curved edge of the sleeve pieces, fold over the bottom edge of the sleeves twice and crease the fabric to mark the double fold hem lines.
5. Align the curved edge of the sleeve to the curved edge of the armhole on the bodice, and sew the sleeves on. (p.52)
6. On the bottom edge of the sleeves, leave an opening for inserting the elastic band later on, sew down the side edge of the sleeves down to the edge of the bodice in one continuous stitch (p.52 diagram 6)
7. Zig-zag or serge the side seam allowances together. Sew the double fold hem on the bottom edge of the sleeves. (p.40)
8. Insert elastic band into the bottom edge of the sleeves. (p.53)
9. Finish the hemline with a double fold hem. (p.40)
Make buttonholes, attach buttons (p.39)
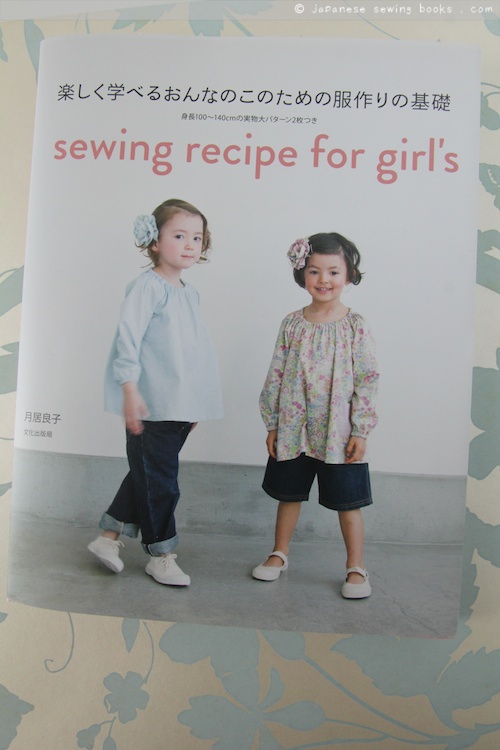
Do any of you have this book? It actually has quite a number of good step by step photographs in it. Highly recommended for those of you who are looking for basic garments with detailed sewing technique instructions. You can see a bit more in my book review here.
I am preparing to do a sew-along next week. Will tell you more on Friday!


3 Comments
sewalong! If it’s for adult clothes, I’m in! I’m almost done with dress K from stylish dress book which you helped me with, oh so long ago. I hope to share it with you once I’m done!
So adorable! I need to make this for my niece!
I have this book! The diagrams are very helpful. But i’m yet to sew any pattern from it. Thank you for the translation, sis.