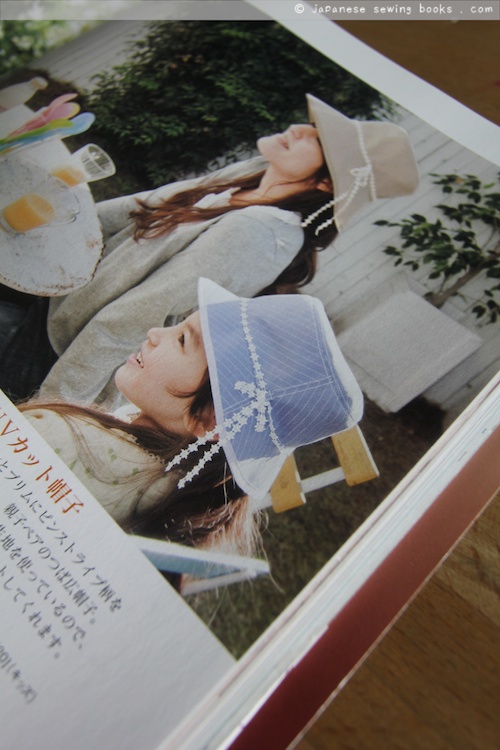
Alice from Sommet Outta Nuthin… needed some help with translation for this pattern. I only translated the materials for kids size here as that’s the one she needed.
Translations for Pg 44 UV Cut Hat from Pochee Vol. 9
Name of parts of hat
- トップクラウン – Top Crown (The circle piece right at the top)
- サイドクラウン – Side Crown (The sides of the hat that forms a cylinder)
- ブリム – Brim
Materials (Kids size only)
- Surface cloth – Stripe cotton 90x45cm
- lining cloth – Plain Lawn 100x20cm
- Thick Interfacing 100x30cm
- Extra thick interfacing 50x50cm
- 1cm wide bi-fold bias tape 85cm
- 1cm wide lace tape 100cm
Finished size 54cm
How to make
Attach thick interfacing to surface fabric for Top of Crown and side of crown pieces.
Attach extra thick interfacing to both surface and lining fabric for hat brim pieces
- Right sides together, sew together side seams for side crown pieces and press seams to one side. (for both surface and lining fabric)
- Sew top of crown to side crown (right sides together) (for both surface and lining fabric)
- Sew side seams of brim pieces (for both surface and lining fabrics).
- Temporary stitch surface and lining brim pieces together.
- Finish outer edge of brim with bias
- Sew surface fabric of side crown and brim pieces together.
- Make and attach loop for lace.
- From pt 6, clip curves in seam allowance, sew surface crown to lining crown pieces together (wrong sides together)
- Insert lace into loop and tie in place.
Note that the instructions are rather brief. Most of the instructions are on the diagrams which are quite self-explanatory.
Hope this will help you Alice. Let us see your hat when you’re done! 🙂


2 Comments
Thank you SO much! I have only got to the tracing so far (I am very slow) but I will share on your flickr group when I have a hat… I just joined the group and posted photos of my books so you can see what I have =0)
It’a alright. I totally get the tracing bit. It’s my greatest obstacle. 🙂