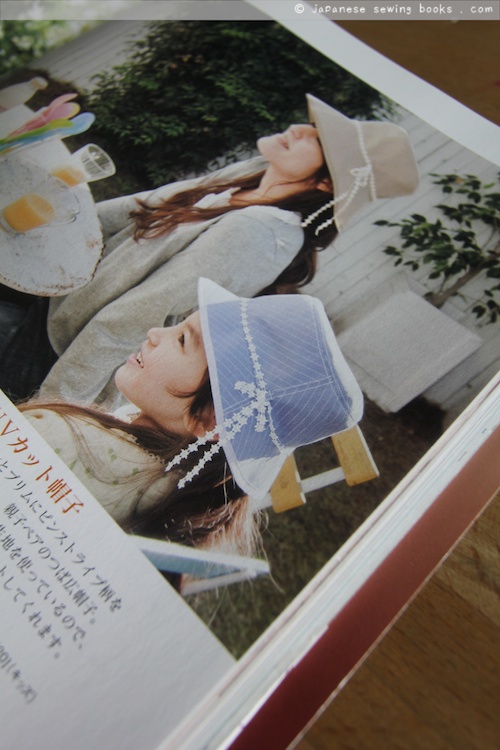
This week’s translation request is from Niki, who needed some help with the following patterns.
The first pattern is from the book girly style wardrobe – おんなのこのワードローブ
The second pattern is from another book that I’ve reviewed before – おしゃれが好きな女の子の服
The name of this shirt is called – no suribu burawusu – No Sleeve Blouse. Actually just means sleeveless blouse 🙂
No-sleeve (Sleeveless) Blouse
[Completed size] … Size 100/110/120/130 in order
(For the rest of the pattern I will omit typing out the measurements, but they are all in order of these sizes)
Bust…
Length
[Pattern] … F from pattern sheet 1
F front bodice, F back bodice, F front and back hem belt
*For front and back Collar facing patterns, Copy the lines indicated for 見返し (indicated as a long-dash-short-dash line) from the front and back bodice patterns.
*Cord, armhole bias tape – cut according to dimensions shown in cutting diagram
[Materials] — Size
Surface fabric (cotton linen) – 150cm width
Interfacing
[Preparation]
* Attach Interfacing to collar facing pieces
* Use zig zag stitch or overlocker to serge the seam allowance edges of the shoulder, side seams, as well as the edges of the facing pieces.
[Order of Make] — refer to diagram
1. Sew shoulder seams of bodice and facing pieces. Press seams open.
2. Finish armhole with bias fabric – Refer to pg 41
3. Make cord – Cord is made by 1cm width of fabric folded 4 times (fold both long edges to midline, then fold again to hide raw edges) and stitch together. Refer to pg 36
4. Sew facing to neckline seam, finish back edges, sew in cord (for ribbon tie) between layers of facing and back edge – Refer to diagram 4 on page 47
5. Sew bodice sides, gather hem. refer to diagram 5 on Pg 47
6. Sew hem belt, attach to bodice hem. Finish edges with zig zag stitch and press to bodice side.
The instructions for this blouse was very short, and seemed to be missing out on diagrams. Actually, it’s because there are alot of repeated techniques which are featured on other patterns, hence the need to make references to other pages. For example, in point no.4, the instructions were very brief, but turning to page 47, the entire process is shown in a clear diagram.
Hope this helps Niki and anyone else who has this book. Happy Sewing!


9 Comments
Hi. I completed The top “E” from the second book you mention. It turned out just great, but I had one little issue. When I attached the bottom ruffle to the top both pieces had to be gathered. Once they were attached I was able to move the gathers slightly through the seam, even when it was overlocked. The solution may not be mentioned in the book, it may just come down to basic sewing know-how. I just don’t know how to fix this 🙂 and I’m hoping you might.
Thanks, Sherry ♥
Hi Sherry, could it be that the stitches was not tight enough? Could be due to tension settings or too long a stitch length. By right once the gathers are secured by stitches it shouldn’t move. The book didn’t mention any specifics, just to gather both the top and skirt pieces to the specified length in the diagram, then sew both layers together at once. I reckon with both layers being gathered it might shift while you’re feeding the fabric through, sew maybe sew with a shorter stitch length and go slow? I have yet to try this one out. I really liked the E top but was wondering if the opening at the back was too “gaping”? What fabric did you make it with?
I used a cheesecloth. I think it was a great match for the style of the top. Thinking back it may have been the stitching that was a little too long. I didn’t find it gaped really although my daughter only tried it on as I made the top for someone else.
Thanks for your suggestions 🙂
I TOTALLY LOVE you!!!!Fantastic.. wonderful.. so so kind… and genius!! You are my new Guru!!! xxxx Lots of love Niki xxxxxxxxxxxxxxxxxxxxxxxxxxxxxxxxxxxxxxxxxxxxxxxxxxxxxxxxxxxxxxxxxxxx
🙂
This translation has been godsend 🙂 I bought Fashionable Clothes Girls Like abt 6 months back, and has been itching to try out pattern F for It’s simplicity and quirkiness. At that time, my little girl was merely a 92cm and I was waiting for her to grow taller. Now that she’s 97 cm, I think it’s high time, yay! With all your effort in translating it, I’m all raring to go. I was a little intimidated too then. Thanks so much xxo
Yay! I think quite a number of people have this book. So I will probably do the sew-along of the bubble dress soon! And about the sizing, I usually make them a little bigger because my girls grow so fast!
Thank you so much for your generous help!!
As a professional translator/interpreter, I know translating can take a long time. I’m a sewing amateur and I’ve been wanting to buy the book Oshare-ga Suki-na Onnanoko-no Fuku for a little while but didn’t dare since I don’t understand a word of Japanese. But now that I have discovered your blog, I can finally give it a try! Many, many thanks and greetings from Spain.
Hi Mayda! Nice to meet a new friend from Spain! Feel free to ask questions and send me patterns if you need help with the translations 🙂