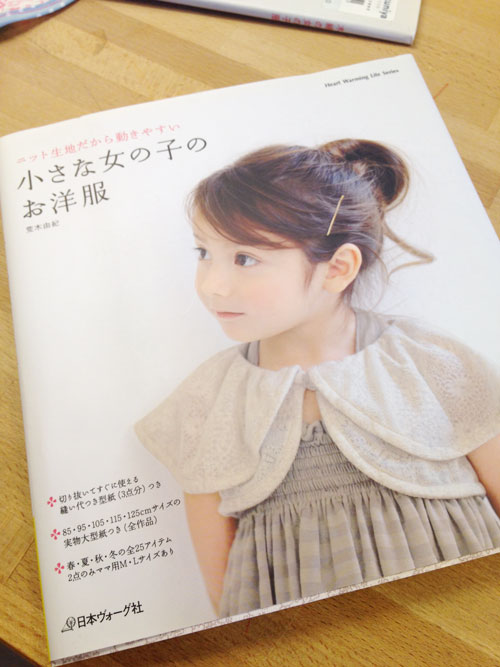
This translation was requested by Courtney, who needed help with Step 1 of dress h from this book.
Step 1 is the attachment of the button placket. I had never sewn one of these before, but I’ve always been curious to how it actually works. The instructions from the book are translated below,
click on image above for a larger picture
The main problem with the instructions is on the 3rd diagram from the left. The instructions are quite brief but it doesn’t exactly show you what to do with the triangular portion of the seam allowance cut from step 2. I used some scrap fabric to simulate the pieces above but couldn’t really figure out how to sew the bottom edge neatly or what to do with the triangular bit from the seam allowance.
So I did a search in Japanese and found this site with really clear instructions of how to make this type of button placket. Worth a look even if you are not making this dress.
http://www5b.biglobe.ne.jp/~ange-s/lesson/lesson2.html
Note that the pattern in the tutorial is slight different with the pattern above. The tutorial is using normal cotton, so the raw edges need to be tucked in and the steps are slightly different to incorporate the folding of the raw edges. In this pattern however, it is using knit fabric, so the placket fabric can be attached without dealing with the raw edges. The top stitching is also done differently.
Nevertheless, the tutorial is really helpful in figuring out the missing steps and learning how to sew a button placket of this sort in general.
I hope this helps you Courtney! and I’m glad I found the Japanese tutorial which demystifies the whole process for me as well! Thank you!


Thank you so much!! I actually forged on after I sent you the message and practiced with scraps as well. You pinpointed the exact spot of my confusion. My little triangle piece folded under the placket pieces nicely. I think the trick is not to stretch things out of place as you fold the pieces to the right side and topstitch very close across the bottom of the placket. The way this dress turned out, I think it would work well in wovens, so I’m so glad to have the other tutorial. Thanks again for your help!
This placket construction has puzzled me for a long time! The Japanese tutorial link you posted is really good,I can finally understand it now, the triangle is supposed to be sandwiched between the two placket pieces. Thanks for illuminating on this placket construction!
[…] clothes for Girls and Lovely Girls’ Dresses for girls up to 160cm. I have also done a translation request and blogged about something I made from her book. In total I have about 5-6 books from her […]